Godot guide · · 8 min read
8-direction isometric pixel art sprites in Godot 4: a practical guide
Use 8-direction isometric pixel art sprites in Godot 4: SpriteFrames naming, facing from the movement angle, crisp Nearest pixels, integer scaling and Y-sort.
What an 8-direction character looks like on disk
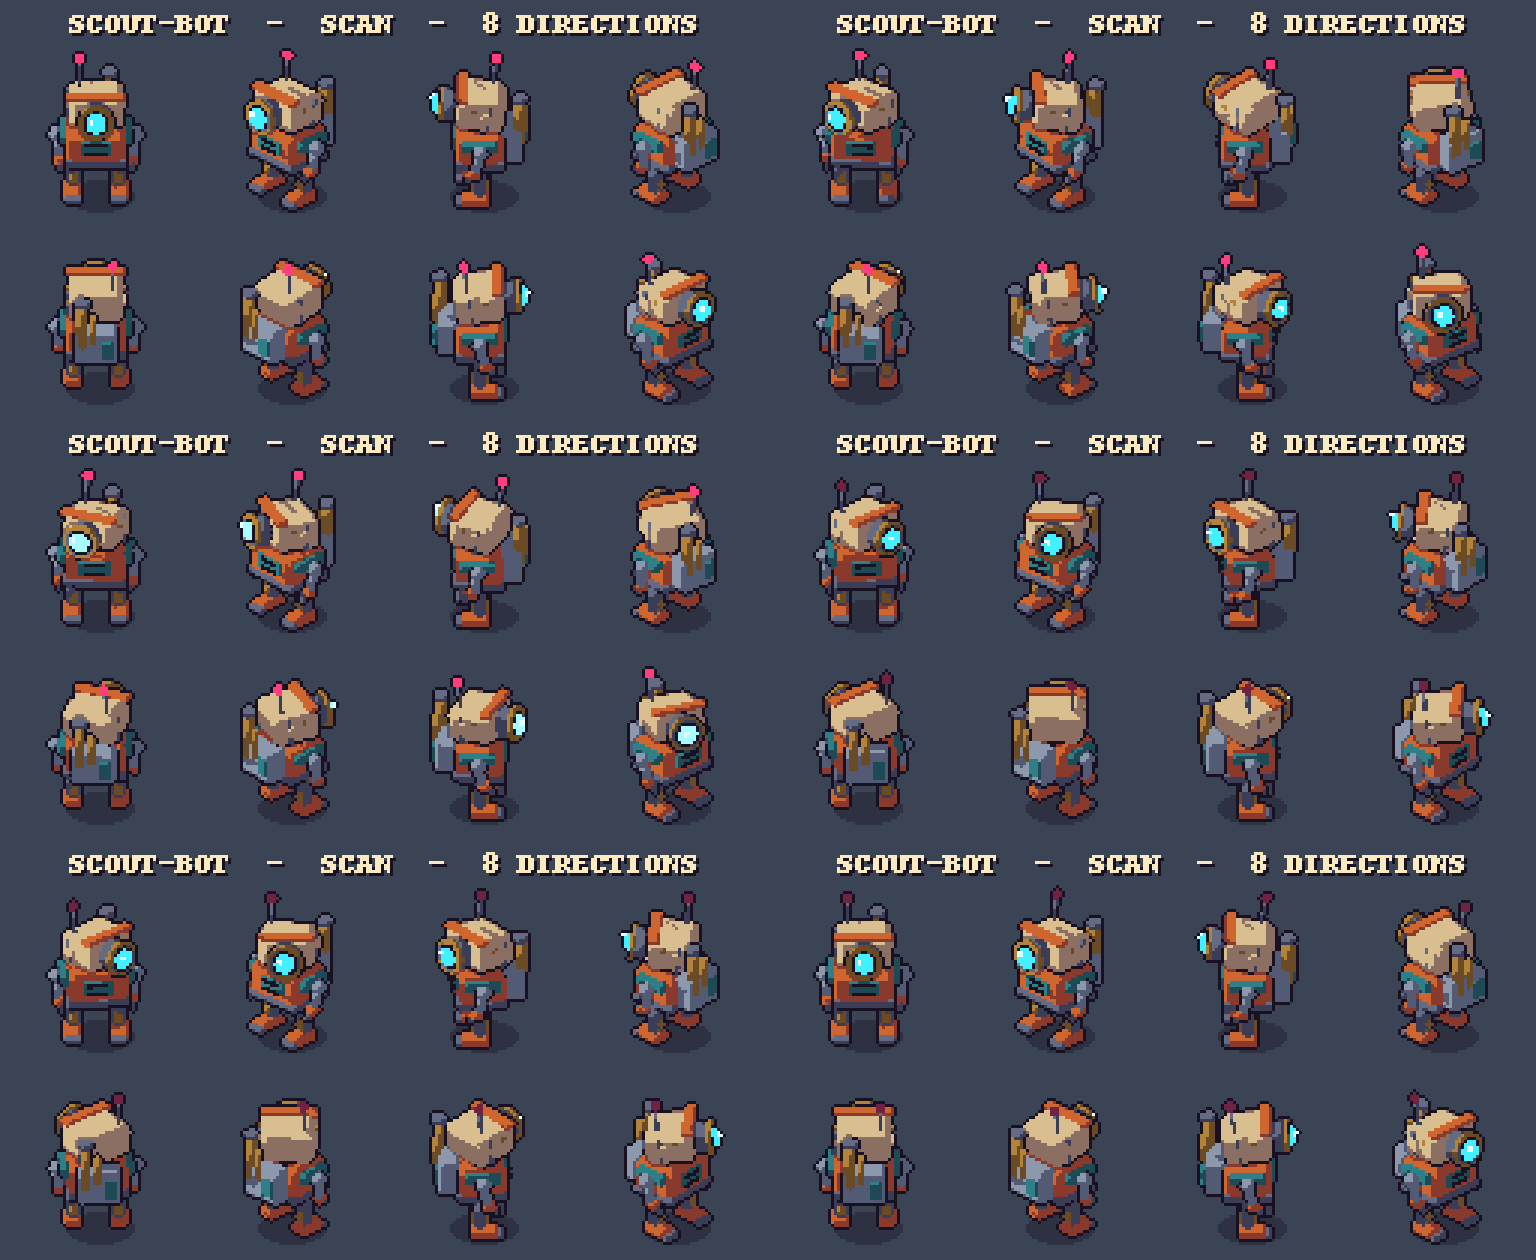
An isometric character that can face any way needs every animation drawn eight times: S, SW, W, NW, N, NE, E and SE. In this guide we wire one up in Godot 4, from the SpriteFrames resource to the line of code that picks the right facing, using the characters of our Robot Series asset packs on itch.io as the worked example.
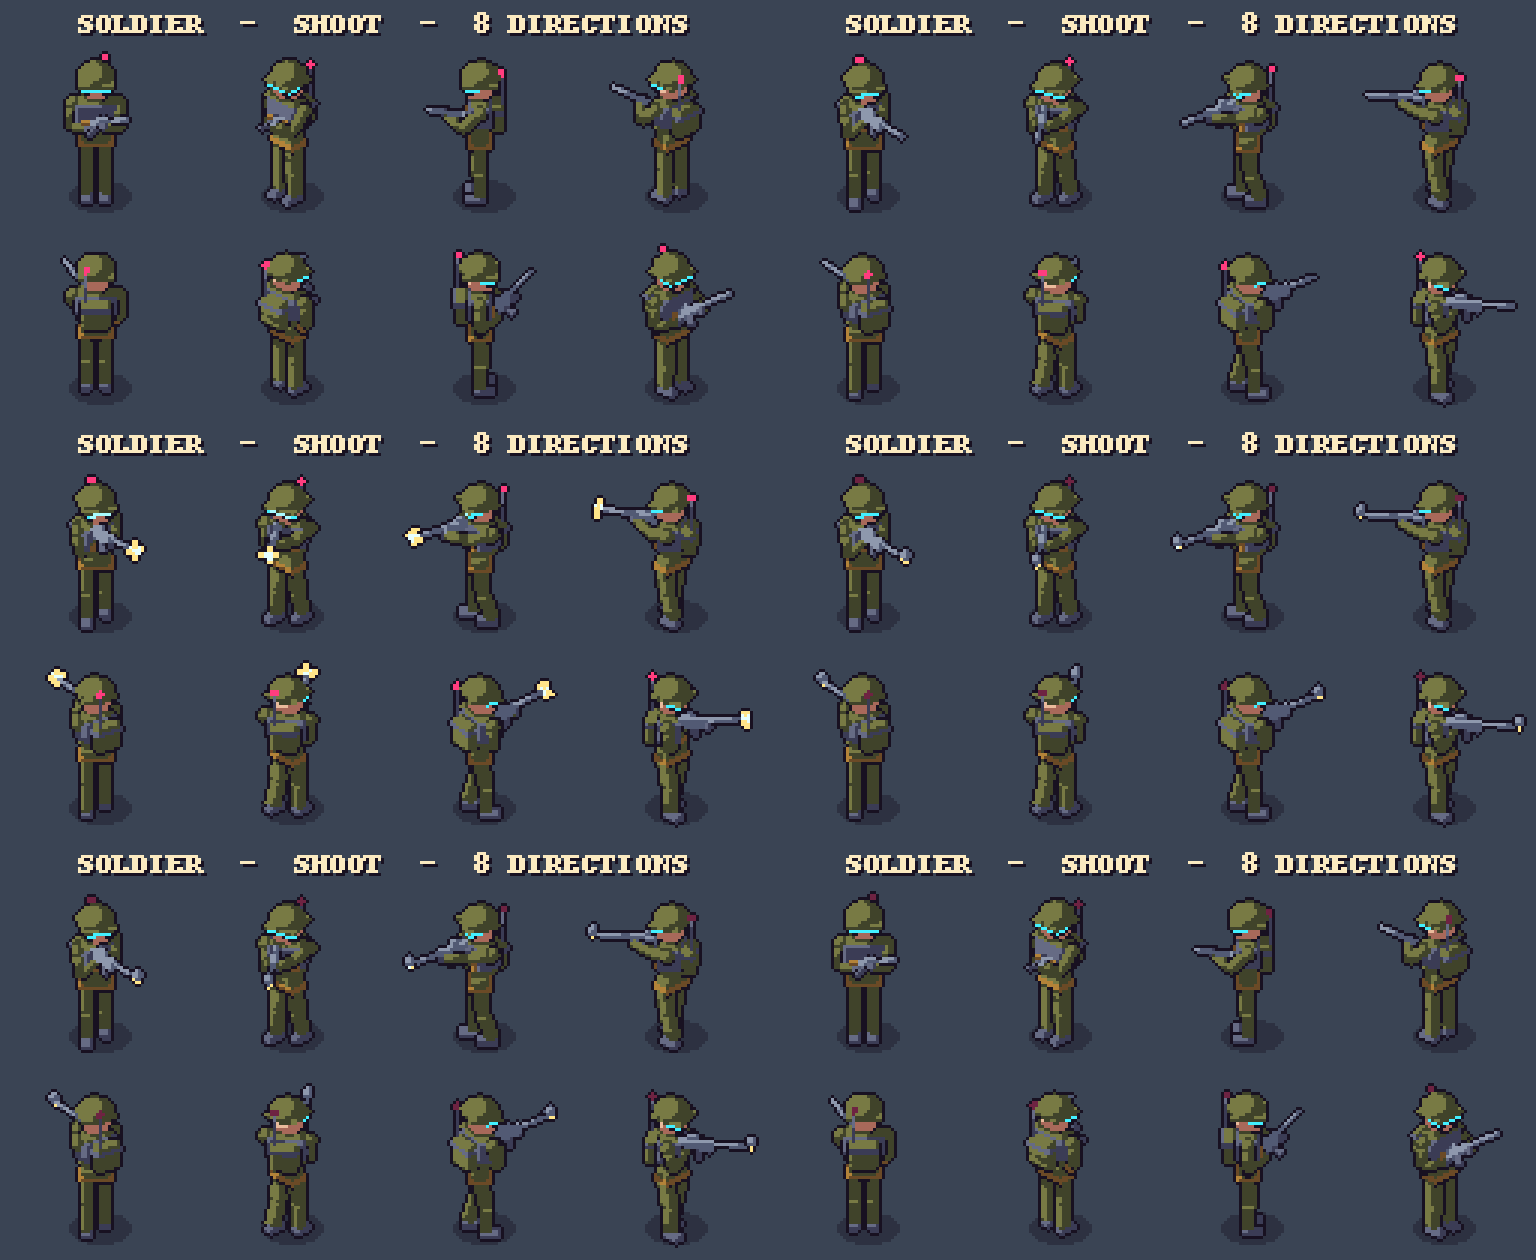
Every Robot Series character has five animations (idle, a movement animation, an attack or action, hit and death) in all 8 directions. Most characters sit in 64x64 px cells with a true 2:1 isometric angle, and the ground point under the feet, the pivot, is pixel (32, 53). Each animation ships as a sprite sheet with one row per direction in the order S, SW, W, NW, N, NE, E, SE and one column per frame, plus every frame as a single PNG.
Each character also comes with an Aseprite source with one tag per animation and direction, such as walk_SE, and a JSON file with frame counts, per-frame timings in milliseconds, loop flags and the pivot. Those two files do most of the work in the steps below.
Build the SpriteFrames: one animation per direction
Add an AnimatedSprite2D node, create a New SpriteFrames in its Sprite Frames property and open the SpriteFrames panel at the bottom of the editor. Click Add frames from a Sprite Sheet, pick a sheet such as scout_walk.png and set the grid to the number of frames horizontally and 8 vertically. Select one row, add its frames, and rename the animation after the row.
Name every animation as action_direction: idle_S, walk_NE, scan_W, death_SE. The direction suffix uses the same letters as the sheet rows and the Aseprite tags, so the code can build the name from two strings. Five animations times eight directions gives 40 animations per character, which is tedious by hand. Our README notes that you can also import the .aseprite file with an Aseprite importer plugin for Godot, where every tag becomes an animation with the same name.
Set the Speed (FPS) of each animation from the JSON timings. Scout-Bot's walk uses 90 ms per frame, which is about 11 FPS, and its idle uses 120 ms, about 8 FPS. When the frames of one animation have different timings, SpriteFrames.add_frame() takes a relative duration per frame, so a frame with duration 2.0 stays on screen twice as long as a frame with 1.0. Turn looping off for hit and death so they stop on their last frame; AnimatedSprite2D emits animation_finished when a non-looping animation reaches the end, which is a good place to go back to idle or remove the enemy.
One thing to watch: the movement animation is named after how the character moves. Scout-Bot walks, Miner-Bot has move and Drone-Bot has fly, while other packs use run, hop, drift or crawl. Keep that name in an exported variable instead of hard-coding walk.
Pick the direction from the movement vector
Vector2.angle() returns the angle of a vector from the positive X axis in radians. Godot's 2D Y axis points down, so positive angles turn towards the bottom of the screen: 0 is east, PI / 2 is south, -PI / 2 is north. Divide the angle by PI / 4, round it to the nearest whole number and you get one of eight 45 degree slices.
Because 0 is east and the angle grows clockwise on screen, the lookup array starts at E: ["E", "SE", "S", "SW", "W", "NW", "N", "NE"]. The rounded value can be negative (north is -2), so wrap it with posmod(value, 8) before using it as an index; posmod wraps negative numbers into the 0 to 7 range.
There is one isometric catch. On a 2:1 isometric grid a diagonal step moves 2 px across and 1 px down, so a character walking along a tile edge towards SE moves at about 26.6 degrees on screen, not 45. With plain 45 degree slices that rounds to E and the character faces the wrong way. The fix is to double the Y component before taking the angle: Vector2(v.x, v.y * 2.0).angle(). A step of (2, 1) becomes (2, 2), exactly 45 degrees, and lands on SE. Our Robot Series diagonals follow the 2:1 tile edges, so this matches the art.
Only update the facing while the character is moving. When the velocity is zero, Vector2.is_zero_approx() returns true, and keeping the last facing lets the idle animation play in the direction the character stopped in.
A complete movement script
Here is a small script for a CharacterBody2D with an AnimatedSprite2D child. It reads the arrow keys with Input.get_vector(), which returns a vector limited to length 1, picks the facing and only calls AnimatedSprite2D.play() when the animation name changes, so the current cycle is not interrupted every physics frame.
Feet slide when the node moves faster or slower than the animation steps. Our movement cycles are timed to the ground: Scout-Bot's walk covers 2 px across and 1 px down per frame on the diagonals, at 90 ms per frame. That is about 2.24 px every 0.09 s, roughly 25 px per second along a diagonal, which is why the script uses speed = 25.0. Faster runs cover 3 px across per frame and heavy walkers 1 px, and each pack's README lists the numbers. If gameplay needs a different speed, scale the animation with it: AnimatedSprite2D.speed_scale multiplies the playback speed, so doubling the movement speed and setting speed_scale to 2.0 keeps the feet planted.
extends CharacterBody2D
const DIRS = ["E", "SE", "S", "SW", "W", "NW", "N", "NE"]
@export var speed := 25.0
@export var move_anim := "walk"
@onready var sprite: AnimatedSprite2D = $AnimatedSprite2D
var facing := "S"

func dir_from(v: Vector2) -> String:
	return DIRS[posmod(roundi(Vector2(v.x, v.y * 2.0).angle() / (PI / 4.0)), 8)]

func _physics_process(_delta: float) -> void:
	velocity = Input.get_vector("ui_left", "ui_right", "ui_up", "ui_down") * speed
	var moving := not velocity.is_zero_approx()
	if moving: facing = dir_from(velocity)
	var anim_name: String = (move_anim if moving else "idle") + "_" + facing
	if sprite.animation != anim_name: sprite.play(anim_name)
	move_and_slide()
Put the feet on the node origin and turn on Y-sort
AnimatedSprite2D is centered by default, so the middle of the cell sits on the node's position. For isometric depth you want the feet there instead. Set the sprite's offset so the pivot lands on the origin: offset.y = cell height / 2 - pivot y. For the 64 px cells that is 32 - 53, so offset = Vector2(0, -21). The 96 px packs use pivot (48, 79), which gives Vector2(0, -31), and the 128 px bosses use pivot (64, 96), which gives Vector2(0, -32). The larger final bosses list their own pivot in the JSON.
Now enable Y Sort Enabled on the parent node that holds your characters and props. With Y-sort on, a CanvasItem and its children with a higher Y position are drawn in front of those with a lower Y. Because the node origin is now the ground point, a robot walking behind a crate is drawn behind it, and in front of it once its feet pass the crate's base.
Tiles can join the same sort. Our Outpost Kit (Pack 19 of the series) ships a Godot 4 TileSet whose tile origins are set by their footprint: put the floors on one TileMapLayer, and the walls, props and pickups on a second TileMapLayer with Y Sort Enabled that sits under the same Y-sorted parent as your characters.
Crisp pixels: Nearest filter and integer scaling
Pixel art needs nearest-neighbour filtering, or Godot blends neighbouring pixels and every outline turns soft. Set texture_filter to Nearest on the AnimatedSprite2D (it is a CanvasItem property, and children set to Parent Node inherit it), or set it once for the whole project in Project Settings under rendering/textures/canvas_textures/default_texture_filter.
Scale by whole numbers only. Under display/window/stretch, set the stretch mode to viewport and scale_mode to integer: the scale factor is floored to an integer, so every art pixel becomes a clean 2x2, 3x3 or 4x4 block on screen instead of an uneven mix. If you zoom with a Camera2D, keep the zoom at whole values such as 2 or 3 for the same reason. Godot also offers rendering/2d/snap/snap_2d_transforms_to_pixel and snap_2d_vertices_to_pixel for pixel art projects.
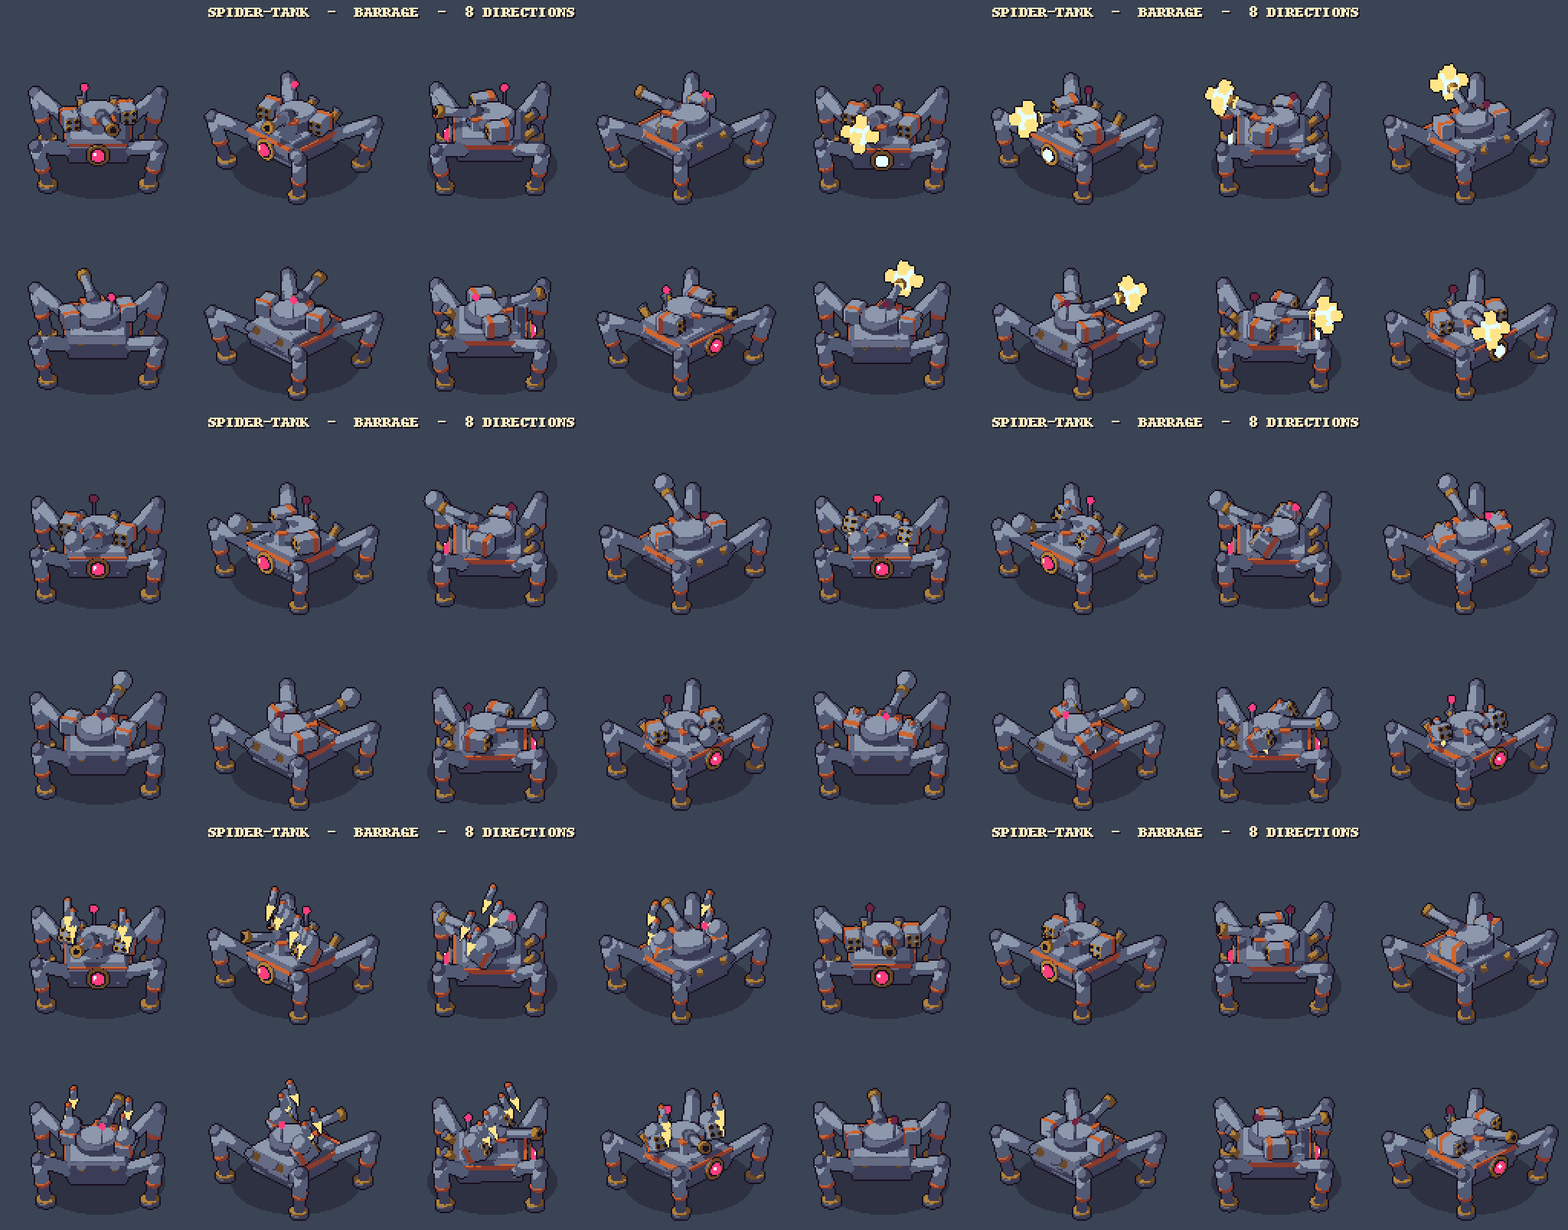
Mind the cell sizes when you mix packs. The 128 px bosses keep the same world scale as the 64 px robots, so they drop into the same scene as they are. The 96 px packs are a 1.5x higher-resolution edition, so mixing them with 64 px characters means scaling one set by a non-integer factor; for the crispest result, build each scene around one resolution.
Try it with a free robot
Every Robot Series pack has one character free to download, with idle and movement in all 8 directions, which is everything you need to test this setup in your own project before buying. The packs include Godot 4 and Unity import notes, and the sheets work in any engine that reads sprite sheets.
The full Robot Series, with all 21 packs including the Outpost Kit tileset and the Effects pack, is collected in one bundle on itch.io: itch.io/s/204631